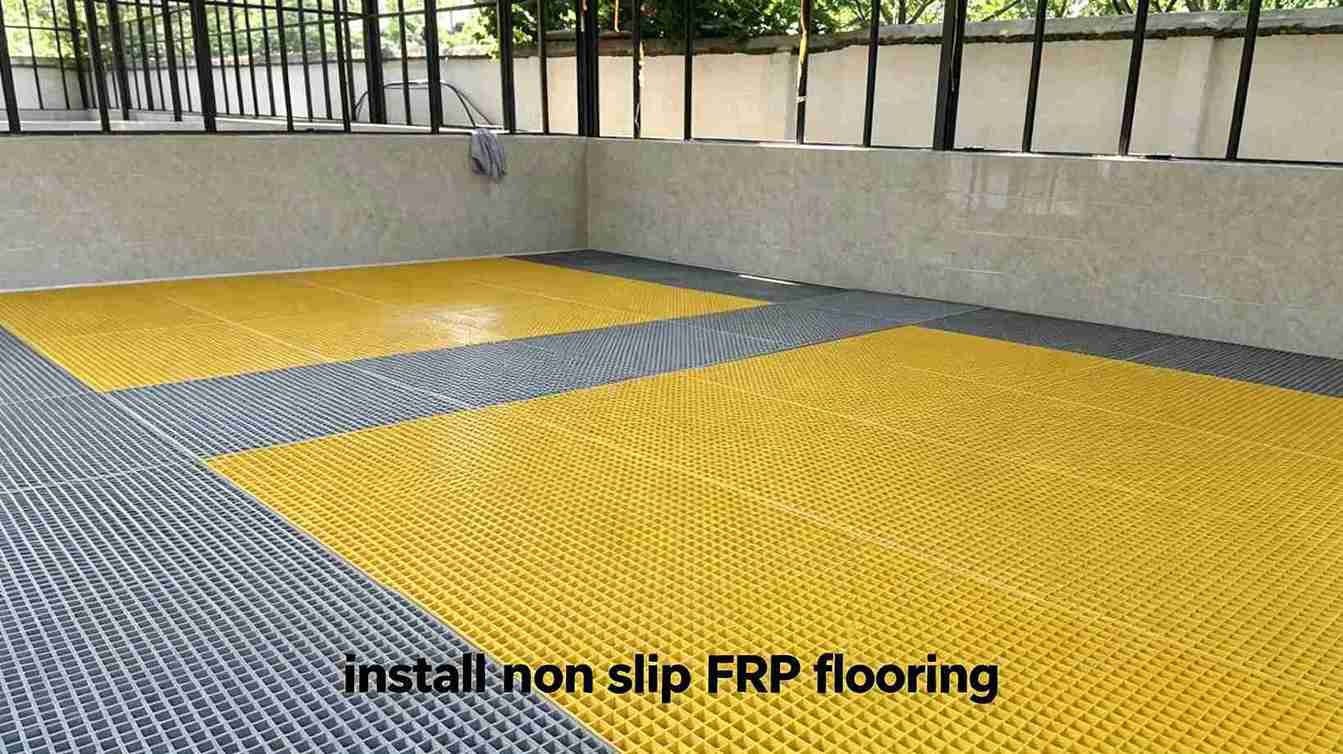
Installing non-slip FRP flooring correctly is critical to maximizing its slip resistance, durability, and longevity—especially in wet, oily, or high-traffic environments where safety is a top priority. Improper installation can compromise the flooring’s anti-slip properties, lead to loose panels, or cause water intrusion, resulting in costly repairs down the line. This guide delivers step-by-step, actionable instructions for every phase of installation, from preparation to final safety checks, with no unnecessary explanations—just proven practices to ensure a secure, long-lasting non-slip FRP flooring system.

Preparation and Planning: Lay the Groundwork for Success
Before beginning installation, thorough preparation and planning eliminate common mistakes and ensure a smooth process. Focus on three key areas to set your project up for success:
Surface Preparation
The subfloor—whether concrete, steel, or wood—must be clean, dry, and free from oil, dust, or grease to ensure proper adhesion and stability. For concrete subfloors, allow a minimum 28-day curing period before installing non-slip FRP flooring; uncured concrete retains moisture, which can damage the FRP and weaken its bond over time. Any uneven areas or cracks should be smoothed and repaired beforehand to prevent uneven panel placement and tripping hazards. This step is non-negotiable, as a poor subfloor foundation will undermine even the highest-quality non-slip FRP flooring.
Measuring and Cutting
Accurate measuring and cutting are essential to a seamless installation. Start by measuring the installation area carefully, accounting for any obstacles or irregular shapes. Cut FRP panels to size using the appropriate tools (detailed below), and always leave a 3mm to 5mm expansion gap between panels and at walls. This gap accommodates thermal expansion and contraction of FRP, which occurs naturally with temperature and humidity changes—failing to leave this gap can cause panels to warp, buckle, or crack over time. For custom cuts or panels with cutouts, take extra care to maintain clean edges and avoid fiber damage.
Tools Required
Gather all necessary tools before starting to avoid delays and ensure precision. You’ll need:
- Safety glasses (to protect against FRP dust and debris)
- Circular saw with a masonry or diamond blade (for clean, damage-free cuts)
- Drill (for mechanical fastening)
- Tape measure (for accurate measurements)
- Stainless steel fasteners and clips (resistant to corrosion, ideal for wet environments)
Installation Methods: Secure Non-Slip FRP Flooring Correctly
There are two primary methods for installing non-slip FRP flooring, each tailored to different panel types. Choose the method that best fits your flooring (grating vs. flat sheets) for optimal results.
1. Mechanical Fastening (Recommended for Grating)
Mechanical fastening is the preferred method for non-slip FRP grating, as it provides superior stability—especially in high-traffic, wet, or industrial environments. Follow these steps:
- Clips: Use FRP saddle clips or M-clips to fasten the grating to the structural support. M-clips are ideal for molded grating with 1-1/2” square mesh, while saddle clips work best for pultruded grating and provide greater strength.
- Placement: Space clips no more than 48 inches apart to ensure even support. Use a minimum of 4 clips per panel (or 2 per support) to prevent movement and sagging. For end panels, add C-clips to minimize differential deflection between adjacent panels.
- Fasteners: Use stainless steel screws, bolts, or rivets, particularly in high-traffic or wet areas—stainless steel resists corrosion and ensures long-term hold. Torque bolts to the manufacturer’s specifications (typically 9 N·m for saddle clips) to avoid over-tightening, which can crush grating bearing bars and damage the FRP structure.
- Securing: Double-check that all clips and fasteners are secure but not over-tightened. Loose fasteners lead to noisy, unstable flooring, while over-tightening causes cracks and fiber damage.
2. Adhesive Application (Recommended for Flat Sheets/Plates)
For non-slip FRP flat sheets or plates, adhesive application creates a seamless, smooth surface ideal for commercial or residential spaces. Use these steps for a strong, lasting bond:
- Adhesive: Choose a strong, construction-grade adhesive designed specifically for FRP installations—it offers superior moisture resistance and bonding strength for challenging environments. Apply the adhesive in a 6mm bead, roughly 20mm from the edge of the sheet.
- Pattern: Use a crosshatch pattern for even adhesive distribution, which ensures better adhesion and prevents air bubbles. For larger sheets, apply the adhesive to the back of the panel (not the subfloor) using a notched trowel for consistent coverage.
- Setting: Lay the non-slip FRP sheet onto the adhesive immediately (within the adhesive’s working time, typically 45 minutes) and apply firm, even pressure across the entire surface to ensure it settles fully into the glue. Use a roller to eliminate air pockets and ensure maximum contact with the subfloor.
- Cleaning: Wipe away any excess adhesive with soap and water while it’s still wet. Once the adhesive cures (per manufacturer guidelines), clean the finished surface to remove any debris or dust that could compromise slip resistance.
Safety and Compliance: Ensure a Safe, Effective Installation
Non-slip FRP flooring is designed to enhance safety, but proper installation is key to unlocking its full potential. Follow these safety and compliance guidelines:
- Slip Resistance: Always install non-slip FRP flooring with the grit-top side facing up—this is the side designed to provide traction and prevent slips. Installing it upside down eliminates the flooring’s core safety feature.
- Safety Check: After installation, conduct a thorough safety check. Look for tripping hazards, such as over-tightened clips, uneven panel edges, or gaps larger than 5mm. Walk the entire surface to check for loose panels or areas that feel unstable, and address any issues immediately.
- Environment: For wet or oily areas (e.g., commercial kitchens, industrial plants, or marine environments), prioritize non-slip FRP grating. It provides superior traction and drainage, reducing the risk of slips and water buildup compared to flat sheets.
- Coatings: For existing surfaces where full FRP flooring installation isn’t feasible, apply anti-skid coatings to enhance slip resistance. These coatings can be used in conjunction with FRP or on their own to improve safety in high-risk areas.
Final Thoughts
Installing non-slip FRP flooring doesn’t have to be complicated—with proper preparation, the right tools, and adherence to the correct installation method, you’ll achieve a safe, durable surface that stands up to harsh environments and heavy use. By following these steps, you’ll maximize the flooring’s non-slip properties, avoid common installation mistakes, and ensure long-term performance. For high-quality, easy-to-install non-slip FRP flooring panels, grating, and installation accessories (including stainless steel clips and compatible adhesives), trust mingchifrp. Our engineered non-slip FRP flooring is designed for hassle-free installation and superior traction, making it the ideal choice for any safety-critical application.